Ever bite into a homegrown strawberry, only to be disappointed by a tart or bland flavor? You're not alone! Achieving that perfect, intensely sweet strawberry flavor requires a bit of know-how and attention to detail. The good news is, with the right strategies, you can significantly enhance the sweetness of your strawberries right in your own garden. Let's explore the secrets to growing irresistibly sweet strawberries. Understanding Strawberry Sweetness Before diving into the "how-to," it's crucial to understand what contributes to a strawberry's sweetness. The sweetness we perceive comes primarily from sugars, specifically fructose, glucose, and sucrose. The balance of these sugars, along with the acidity of the fruit, determines the overall taste. Factors like sunlight, water availability, soil composition, and variety all play significant roles in influencing sugar production and acidity levels within the strawberry fruit. Unders...
Ever bite into a perfectly ripe, juicy strawberry and think, "I wish I could have more of these...forever!"? Well, good news! You can actually propagate new strawberry plants directly from those delicious fruits. It's a fascinating process, a little bit like magic, and it can turn a handful of store-bought strawberries into a thriving patch of your own. Let's dive into the surprisingly simple steps of growing strawberry plants from strawberries!
Growing Strawberry Plants From Store-Bought Strawberries: Is It Possible?
The short answer is yes, it's absolutely possible to grow strawberry plants from strawberries purchased from the store! However, there are a few crucial things to consider to increase your chances of success. Not all strawberries are created equal, and some are better suited for propagation than others. This is because most commercially grown strawberries are hybrids, meaning their seeds might not produce plants that are exactly like the parent plant. You might end up with slightly different fruit, or even a plant that doesn't fruit as well. However, even with these caveats, it's still a fun and educational experiment!
The viability of using store-bought strawberries to grow new plants largely depends on the variety and how they were grown. Organic strawberries are often a better choice, as they are less likely to have been treated with chemicals that could inhibit germination. Also, choose strawberries that look plump, ripe, and healthy - these are more likely to contain viable seeds. Starting from seed can be a slow process, so be patient and persistent.
Step-by-Step Guide: How to Grow Strawberry Plants From Strawberries
Ready to give it a shot? Here's a detailed guide on how to grow your own strawberry plants from those delicious, readily available berries:
Step 1: Preparing the Strawberries for Seed Extraction
First, you'll need to extract the seeds from your chosen strawberries. This can be a little messy, but it's a crucial step. Here’s how to do it:
- Choose your Strawberries: As mentioned earlier, opt for organic strawberries if possible. Look for ripe, healthy-looking berries.
- Slice the Strawberry: Carefully slice off the outer layer of the strawberry, including the seeds. Aim for a thin layer, as you only need the seeds, not the entire fruit. You can use a sharp knife or a vegetable peeler for this.
- Prepare the Pulp and Seed Mixture: Place the sliced strawberry pieces into a blender with a little bit of water, gently pulse blend the mix to remove the seed from the pulp.
- Separate the Seeds: There are two primary ways to separate the seeds. The first involves placing the sliced strawberry pieces on a paper towel and allowing them to dry completely. Once dry, you can gently rub the seeds off the paper towel. The second method involves a more thorough cleaning process. Submerge the strawberry slices in a bowl of water and agitate the mixture to separate the seeds from the pulp. The viable seeds will typically sink to the bottom, while the pulp floats. Carefully pour off the pulp and repeat the process until you have relatively clean seeds.
- Dry the Seeds: Spread the collected seeds on a clean paper towel or coffee filter and allow them to dry completely. This is essential to prevent mold growth. The drying process can take several days.
Step 2: Stratification (Cold Treatment) for Strawberry Seeds
Strawberry seeds require a period of cold stratification to break their dormancy and encourage germination. This mimics the natural winter conditions they would experience in the wild.
- Place Seeds in a Container: Put the dried strawberry seeds in a small resealable plastic bag or a small container.
- Add Moisture: Lightly moisten a paper towel and place it in the bag or container with the seeds. The paper towel should be damp, not soaking wet.
- Refrigerate: Seal the bag or container and place it in the refrigerator for 4-6 weeks. This cold period is crucial for successful germination. Label the bag with the date you started the stratification process.
During the stratification period, check the seeds periodically to ensure the paper towel remains moist. If it dries out, lightly re-moisten it. Also, watch for any signs of mold growth. If you see mold, discard the seeds and start over with a fresh batch.
Step 3: Planting the Strawberry Seeds
After the stratification period, it's time to plant your strawberry seeds. Here's how:
- Prepare Seed Starting Mix: Use a sterile seed starting mix to prevent fungal diseases. You can purchase this at most garden centers.
- Sow the Seeds: Fill small pots or a seed starting tray with the seed starting mix. Sprinkle the strawberry seeds on the surface of the soil. Don't bury them too deeply; they need light to germinate. Gently press the seeds into the soil.
- Water Gently: Water the soil gently using a spray bottle or mister to avoid disturbing the seeds. Keep the soil consistently moist, but not waterlogged.
- Provide Light: Place the pots or tray in a location with bright, indirect light. If you don't have a naturally bright location, you can use grow lights. Strawberry seeds need at least 12-14 hours of light per day to germinate.
- Maintain Warmth: Keep the temperature around 70-75°F (21-24°C) for optimal germination. A heat mat can be helpful in maintaining a consistent temperature.
Germination can take anywhere from 1-4 weeks, so be patient. Once the seedlings emerge, continue to provide them with bright light and consistent moisture.
Step 4: Caring for Strawberry Seedlings
Once your strawberry seedlings have sprouted, they'll need careful attention to thrive. Here's what to do:
- Thin the Seedlings: If you have multiple seedlings growing in the same pot, thin them out to give the strongest seedlings room to grow. Use small scissors to carefully snip off the weaker seedlings at the soil line.
- Water Regularly: Water the seedlings regularly, keeping the soil consistently moist but not waterlogged. Allow the surface of the soil to dry slightly between waterings.
- Fertilize Lightly: Once the seedlings have developed a few true leaves, you can start fertilizing them with a diluted liquid fertilizer specifically formulated for seedlings. Follow the instructions on the fertilizer packaging.
- Provide Adequate Light: Ensure the seedlings receive plenty of light, either from a bright, sunny window or from grow lights. If using grow lights, keep them a few inches above the seedlings.
- Harden Off: Before transplanting the seedlings outdoors, you'll need to "harden them off." This process gradually acclimates the seedlings to outdoor conditions. Start by placing the seedlings outdoors in a sheltered location for a few hours each day, gradually increasing the amount of time they spend outdoors over a period of 1-2 weeks.
Step 5: Transplanting Strawberry Plants
Once the danger of frost has passed and your strawberry seedlings have been hardened off, it's time to transplant them into their permanent location in the garden or into larger pots.
- Choose a Location: Select a location that receives at least 6-8 hours of sunlight per day. Strawberries prefer well-drained soil that is rich in organic matter.
- Prepare the Soil: Amend the soil with compost or other organic matter to improve drainage and fertility.
- Plant the Seedlings: Dig small holes that are large enough to accommodate the root balls of the seedlings. Gently remove the seedlings from their pots and place them in the holes. Space the plants about 12-18 inches apart.
- Water Thoroughly: Water the newly transplanted seedlings thoroughly to help them establish their roots.
- Mulch: Apply a layer of mulch around the plants to help retain moisture, suppress weeds, and keep the fruit clean. Straw is a traditional and effective mulch for strawberries, hence the name!
After transplanting, continue to water the plants regularly, especially during dry periods. Fertilize them as needed with a fertilizer formulated for strawberries. With proper care, your strawberry plants should start producing fruit within a year.
Tips for Success When Growing Strawberry Plants From Strawberries
Growing strawberry plants from store-bought strawberries can be a rewarding experience. Here are a few additional tips to help you succeed:
- Be Patient: Germination and growth can be slow, so be patient and don't get discouraged if you don't see results immediately.
- Control Pests and Diseases: Monitor your plants regularly for pests and diseases, and take action to control them if necessary. Common strawberry pests include aphids, slugs, and spider mites. Common diseases include powdery mildew and gray mold.
- Water Wisely: Strawberries need consistent moisture, but avoid overwatering, which can lead to root rot. Water deeply and less frequently, rather than shallowly and more often.
- Choose the Right Variety: Everbearing strawberry varieties are known for producing fruit throughout the growing season, while June-bearing varieties produce a large crop of fruit in June. Choose the variety that best suits your needs and climate.
Strawberries thrive in slightly acidic soil with a p H level between 5.5 and
6.8. Consider performing a soil test to determine the p H of your soil and amend it accordingly if necessary. You can use sulfur to lower the p H or lime to raise it.
Don't forget to provide support for your strawberry plants as they grow and produce fruit. This can be done using stakes, trellises, or cages. Supporting the plants will help keep the fruit off the ground and prevent it from rotting.
Creating a vertical strawberry garden is an excellent way to maximize space in small gardens. Using stacked planters, hanging baskets, or repurposed pallets, you can grow a large number of strawberry plants in a limited area.
Growing strawberries from seed, even from store-bought fruit, is a budget-friendly way to expand your garden and enjoy fresh, homegrown berries. With a little patience and attention, you can transform a single strawberry into a bountiful harvest.
Enjoying Your Homegrown Strawberries
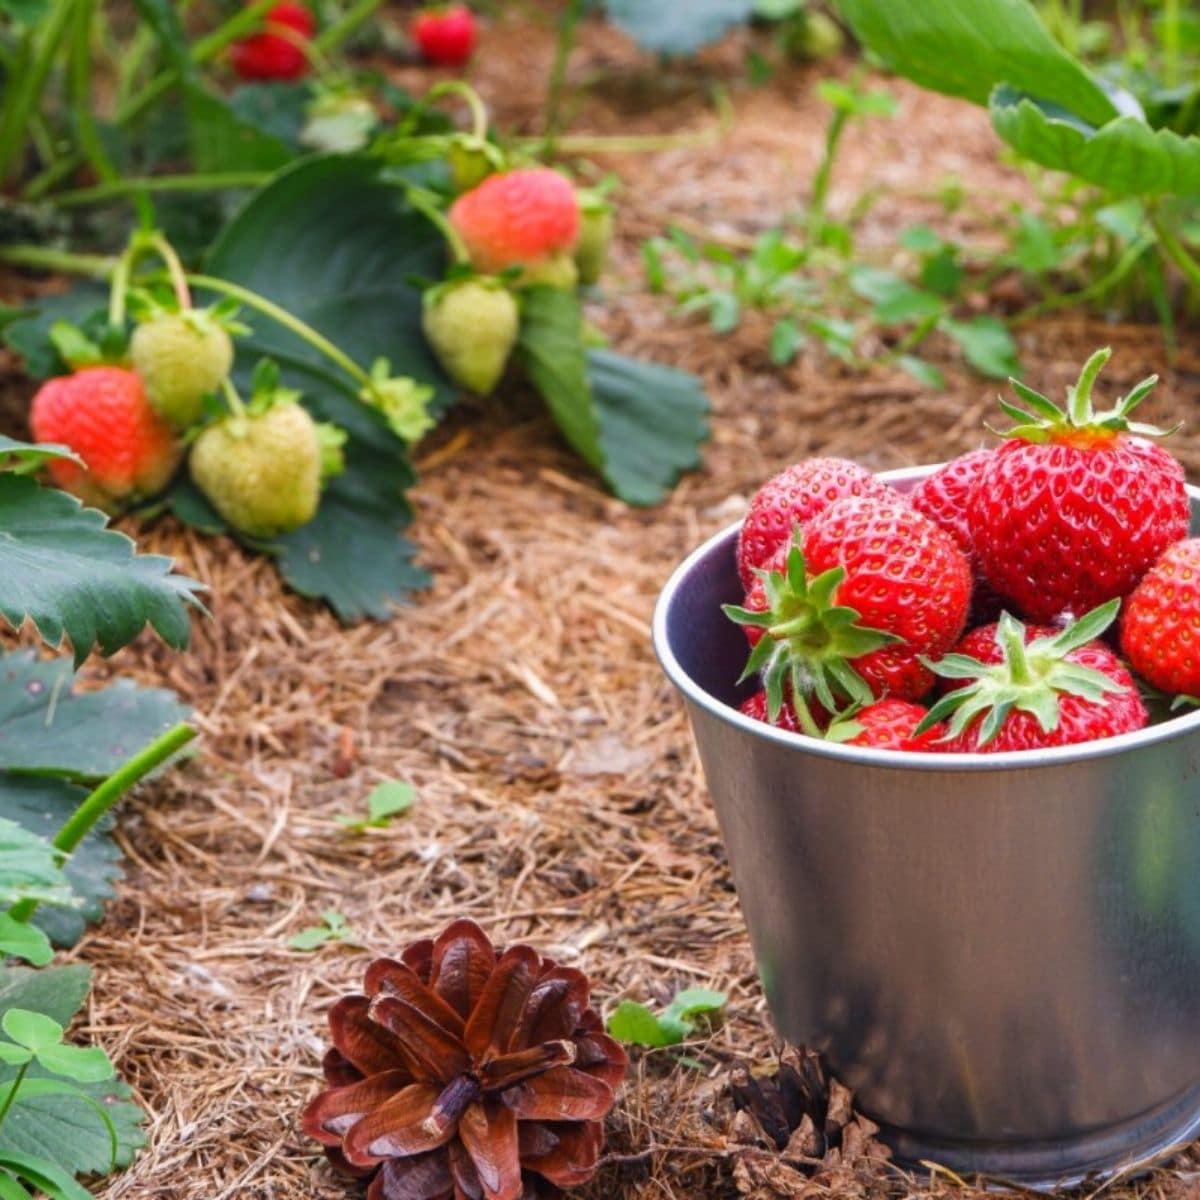
Finally, the moment you've been waiting for – harvesting and enjoying your homegrown strawberries! Once the berries turn a deep red color and easily detach from the plant, they are ready to be picked. Harvest them in the morning, when they are at their peak flavor. Store the freshly picked strawberries in the refrigerator and enjoy them within a few days. There's nothing quite like the taste of a sun-ripened, homegrown strawberry!
Keep your gardening tools organized and within easy reach using a handy tool organizer like the Keomaisyto Garden Tool Organizer With Basket. This 3-tier yard storage rack is perfect for keeping your garage, shed, or yard clutter-free. It features 35 long-handled slots, making it ideal for storing shovels, rakes, and other gardening essentials. You can find this tool storage system on Amazon: Keomaisyto Garden Tool Organizer With Basket