Ever bite into a homegrown strawberry, only to be disappointed by a tart or bland flavor? You're not alone! Achieving that perfect, intensely sweet strawberry flavor requires a bit of know-how and attention to detail. The good news is, with the right strategies, you can significantly enhance the sweetness of your strawberries right in your own garden. Let's explore the secrets to growing irresistibly sweet strawberries. Understanding Strawberry Sweetness Before diving into the "how-to," it's crucial to understand what contributes to a strawberry's sweetness. The sweetness we perceive comes primarily from sugars, specifically fructose, glucose, and sucrose. The balance of these sugars, along with the acidity of the fruit, determines the overall taste. Factors like sunlight, water availability, soil composition, and variety all play significant roles in influencing sugar production and acidity levels within the strawberry fruit. Unders...
Ever strolled through the produce aisle, eyed those vibrant red strawberries, and thought, "Could I actually grow these?" Turns out, you absolutely can! While it's not as straightforward as planting seeds, propagating strawberries from store-bought fruit is a fun and rewarding experiment. Get ready to dive into the fascinating world of strawberry propagation and learn how to potentially create new plants from your grocery store purchases.
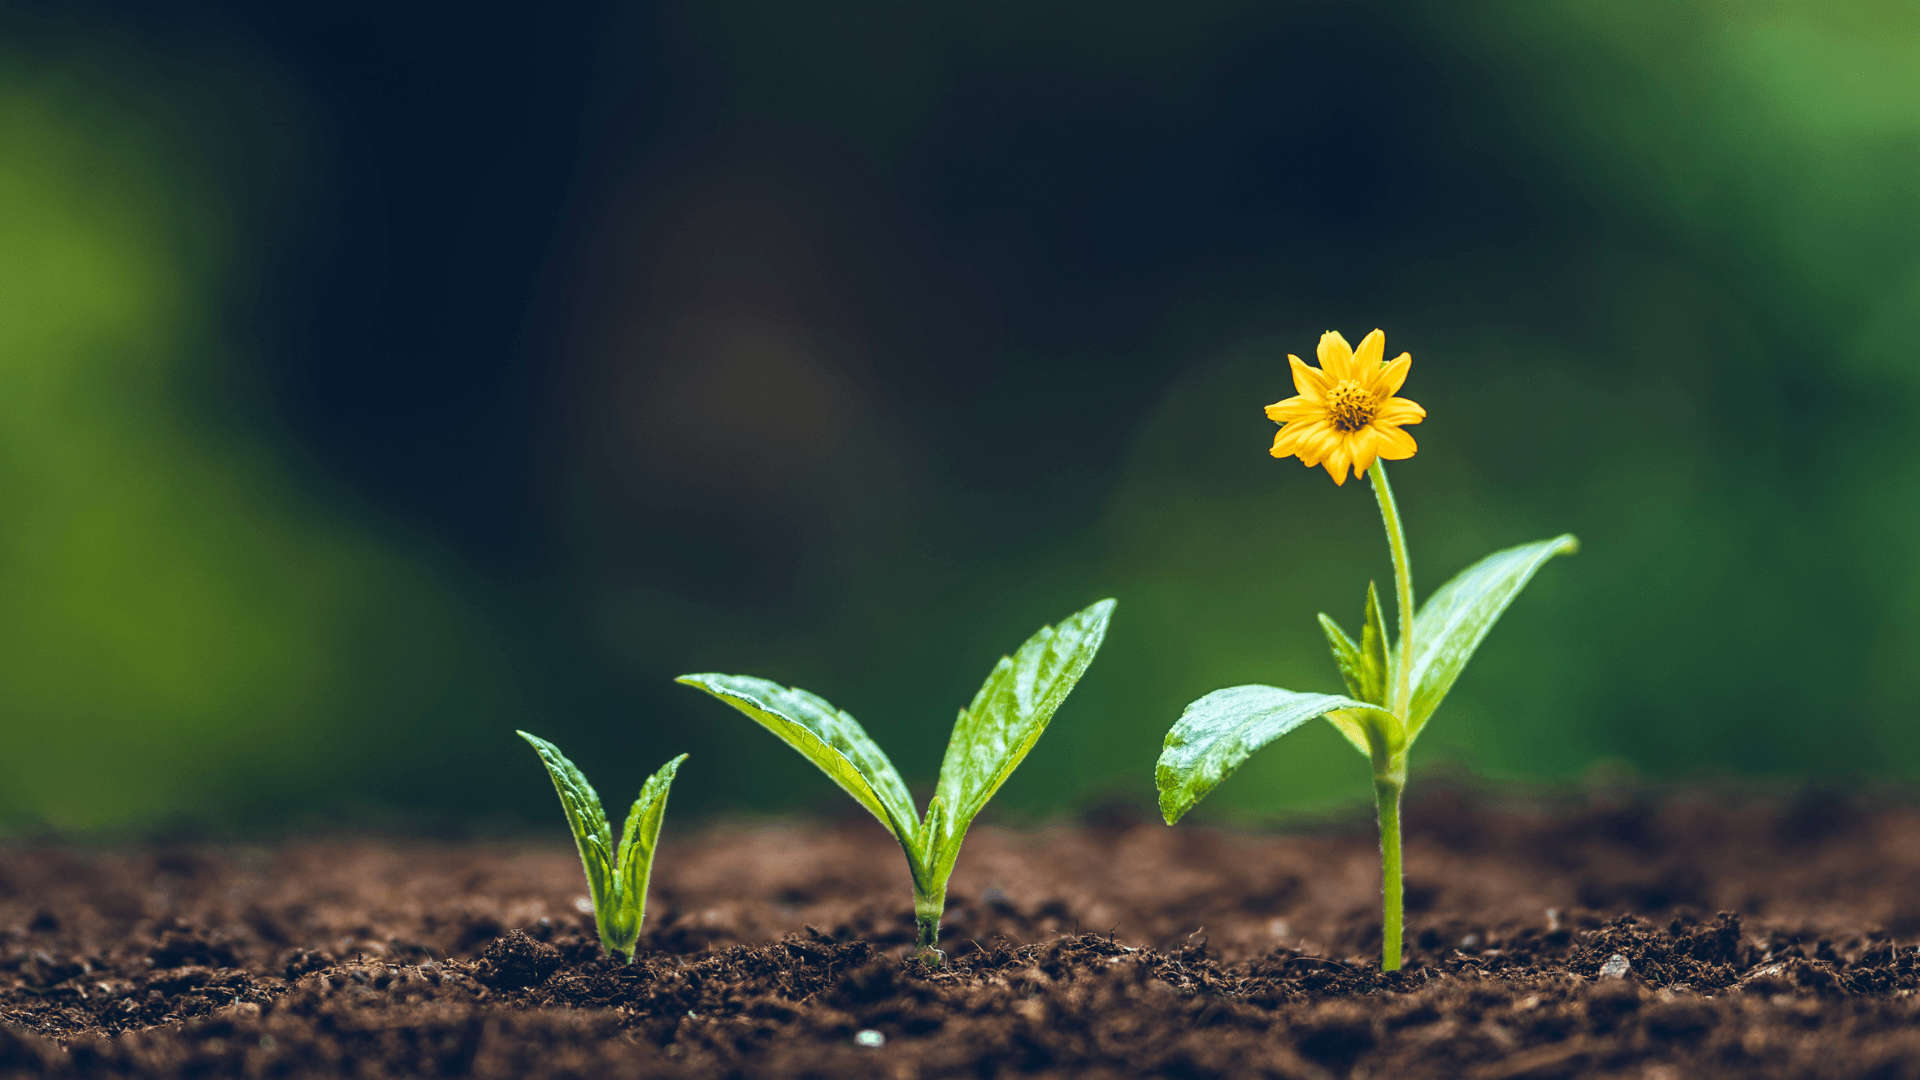
Propagating Strawberries From Store-Bought Fruit: A Comprehensive Guide
Growing strawberries from store-bought berries is a great way to expand your strawberry garden with minimal cost. It’s not guaranteed to work every time, and the plants you get might not be exactly the same as the parent fruit (more on that later!). But with patience and the right techniques, you can increase your chances of strawberry success.
Understanding Strawberry Propagation
Before we get our hands dirty, let’s understand the basics of strawberry propagation. Strawberries can reproduce in several ways, including by seed, runners (also known as stolons), and crown division. Propagating from store-bought strawberries primarily involves trying to grow plants from the tiny seeds on the fruit's surface.
Here's why this method is a bit trickier than growing from commercially produced strawberry seeds:
Hybrid Varieties: Many store-bought strawberries are hybrid varieties. Hybrid plants don't always "come true" from seed, meaning the offspring might not have the same desirable traits as the parent plant (size, flavor, disease resistance). You might get surprises, both good and bad! Seed Viability: The seeds on store-bought strawberries may not be fully mature or properly dried, which can affect their germination rate. Dormancy:Strawberry seeds often have a period of dormancy that needs to be broken before they will germinate. This usually involves cold stratification (exposing the seeds to cold temperatures).
Despite these challenges, it's still worth a try! You'll learn a lot about plant propagation in the process.
Choosing the Right Strawberries
The first step is selecting the right strawberries from the store. Not all strawberries are created equal when it comes to propagation. Here’s what to look for:
Organic Strawberries: Opt for organic strawberries if possible. Non-organic strawberries might have been treated with chemicals that can inhibit seed germination. Ripe and Healthy Berries: Choose berries that are fully ripe (deep red color) but not overripe or mushy. Avoid any berries that show signs of mold or damage. Visible Seeds: Look for berries with prominent seeds on the surface. The more visible the seeds, the better your chances of success. Variety (If Known): If the packaging indicates the variety of strawberry (e.g., 'Seascape', 'Albion'), do some research to see if it's a variety known for good germination rates. Day-neutral varieties often work well.
Consider this example: A grower in California once tried to propagate several varieties of strawberries. They found that the 'Albion' variety had a significantly higher germination rate than other common varieties found in grocery stores. This highlights the importance of variety selection, if the information is available.
Extracting the Strawberry Seeds
This is where things get a little delicate. You need to extract the seeds from the strawberry without damaging them. Here are a few methods:
1.The Blender Method (Careful!) Place a few strawberries in a blender with a small amount of water.
Pulse the blender very briefly (just a second or two at a time) to loosen the seeds from the pulp.
Pour the mixture through a fine-mesh sieve.
Rinse the seeds thoroughly under running water to remove any remaining pulp.
Spread the seeds on a paper towel and let them dry completely.
2.The Toothbrush Method Using a soft toothbrush, gently scrub the surface of the strawberry over a bowl of water.
The seeds should detach and float in the water.
Pour the water through a fine-mesh sieve to collect the seeds.
Rinse the seeds and let them dry.
3.The Scraping Method Using a sharp knife or a vegetable peeler, carefully scrape off the outer layer of the strawberry flesh where the seeds are located.
Place the scrapings on a paper towel and let them dry.
Once dry, gently rub the scrapings to release the seeds.
The key is to be gentle. You don't want to damage the seeds during extraction.
Preparing and Stratifying the Strawberry Seeds
As mentioned earlier, strawberry seeds often need a period of cold stratification to break their dormancy. This mimics the natural winter conditions they would experience in the wild.
Here’s how to stratify your strawberry seeds:
1.Dry the Seeds: Ensure the extracted seeds are completely dry.
2.Place in a Sealed Container: Place the dry seeds in a small, airtight container (such as a zip-top bag or a small plastic container).
3.Add a Moist Medium: Add a small amount of slightly moistened (not soaking wet) peat moss or vermiculite to the container. This will help maintain the humidity.
4.Refrigerate: Seal the container and place it in the refrigerator (not the freezer!) for 4-6 weeks. The ideal temperature is around 35-40°F (2-4°C).
During the stratification period, check the seeds periodically to make sure the medium is still slightly moist. If it’s drying out, add a few drops of water. Don't let them get moldy!
Fact: Cold stratification is crucial for many perennial plants. It helps break down the inhibitors within the seed that prevent germination until the conditions are right (i.e., after winter).
Planting the Strawberry Seeds
After the stratification period, it's time to plant your strawberry seeds. Here’s what you’ll need:
Seed Starting Trays or Small Pots: Choose containers with good drainage. Seed Starting Mix: Use a sterile seed starting mix. This will help prevent fungal diseases that can affect young seedlings. Water: Use distilled or filtered water to avoid introducing contaminants. Spray Bottle: A spray bottle is ideal for gently watering the seeds. Heat Mat (Optional): A heat mat can help maintain a consistent soil temperature, which can improve germination rates. Grow Lights (Optional): If you don't have a sunny windowsill, grow lights can provide the necessary light for seedlings.
Here’s how to plant the seeds:
1.Moisten the Soil: Moisten the seed starting mix before filling the containers.
2.Sow the Seeds: Sprinkle the strawberry seeds thinly on the surface of the soil. Don't bury them too deep; they need light to germinate.
3.Gently Press: Gently press the seeds into the soil.
4.Mist with Water: Mist the soil surface with water using a spray bottle.
5.Cover (Optional): Cover the containers with a clear plastic dome or plastic wrap to create a humid environment. Remove the cover once seedlings emerge.
6.Provide Light and Warmth: Place the containers in a warm location (around 70-75°F or 21-24°C) with plenty of light. Use a heat mat if needed, and provide supplemental light if natural light is insufficient.
Germination can take anywhere from 1 to 4 weeks. Be patient and keep the soil consistently moist but not waterlogged.
Caring for Strawberry Seedlings
Once your strawberry seedlings emerge, they'll need careful attention to thrive. Here are some tips:
Light: Provide plenty of light. If using grow lights, keep them close to the seedlings (a few inches away). Watering: Water gently whenever the soil surface feels dry. Avoid overwatering, which can lead to root rot. Fertilizing: Once the seedlings have a few sets of true leaves (not just the initial seed leaves), you can start fertilizing them with a diluted liquid fertilizer. Use a balanced fertilizer (e.g., 10-10-10) diluted to half strength. Thinning: If you have too many seedlings in one container, thin them out to give the remaining plants more space to grow. Hardening Off:Before transplanting the seedlings outdoors, you'll need to harden them off. This means gradually exposing them to outdoor conditions over a period of a week or two. Start by placing them in a sheltered location for a few hours each day, gradually increasing the amount of time they spend outdoors.
Data: A study by a university horticulture department showed that strawberry seedlings that were hardened off properly had a significantly higher survival rate after transplanting compared to those that were transplanted directly from indoors.
Transplanting and Growing Your Strawberry Plants
Once your strawberry seedlings are hardened off and have a good root system, they're ready to be transplanted into their permanent location. Here are some tips for transplanting and growing your strawberry plants:
Choose a Sunny Location: Strawberries need at least 6-8 hours of sunlight per day. Prepare the Soil: Strawberries prefer well-drained soil that is rich in organic matter. Amend the soil with compost or other organic matter before planting. Planting Depth: Plant the seedlings so that the crown (the point where the roots meet the stem) is at soil level. Don't bury the crown, or the plant may rot. Spacing: Space the plants about 12-18 inches apart. Watering: Water the plants thoroughly after transplanting. Mulching: Mulch around the plants with straw or wood chips to help retain moisture and suppress weeds. Fertilizing: Fertilize the plants regularly with a balanced fertilizer. Pest and Disease Control: Monitor the plants for pests and diseases, and take action as needed.
Consider using raised beds or containers if your soil is poorly drained or if you have limited space.
Potential Challenges and Troubleshooting
Growing strawberries from store-bought fruit is not always easy, and you may encounter some challenges along the way. Here are some common problems and how to troubleshoot them:
Poor Germination: If your seeds don't germinate, it could be due to a number of factors, including low seed viability, insufficient stratification, or improper planting depth. Try using fresh seeds, ensuring proper stratification, and planting the seeds correctly. Damping Off: Damping off is a fungal disease that can kill young seedlings. To prevent damping off, use sterile seed starting mix, avoid overwatering, and provide good ventilation. Pests: Common strawberry pests include aphids, spider mites, and slugs. Control pests with insecticidal soap, horticultural oil, or other appropriate methods. Diseases: Common strawberry diseases include leaf spot, powdery mildew, and gray mold. Prevent diseases by providing good air circulation, avoiding overhead watering, and using disease-resistant varieties. Lack of Fruit:If your strawberry plants don't produce fruit, it could be due to a lack of sunlight, poor pollination, or nutrient deficiencies. Ensure that the plants get enough sunlight, provide adequate pollination (by hand if necessary), and fertilize regularly.
Remember, patience is key. Growing strawberries from seed takes time and effort, but the rewards are well worth it.
Having the right tools can make gardening so much easier! I personally love using myKeomaisyto Garden Tool Organizer With Basket. This yard storage rack keeps all my essentials neatly organized in the garage and shed. No more tripping over long-handled tools! Check it out here:https://amzn.to/4d0g LFg It's a total game changer for keeping my gardening space tidy and efficient.
Conclusion: Is it Worth Growing Strawberries from Store-Bought Produce?
Growing strawberries from store-bought berries can be a fascinating experiment and a great learning experience. While it's not guaranteed to produce identical copies of the parent plant, or even successful plants, the possibility of cultivating your own strawberries from something you bought at the store is certainly worth the effort for gardening enthusiasts. Follow these steps and you'll be well on your way to potentially enjoying homegrown strawberries from your store-bought finds!